Contents
- 1 EVERYTHING YOU NEED TO KNOW ABOUT BICYCLE RESTORATION
- 1.0.1 Understanding the Basics of Bicycle Mechanics
- 1.0.2 Essential Tools and Supplies for Bicycle Restoration
- 1.0.3
- 1.0.4 Cleaning and Polishing the Bike
- 1.0.5 Replacing the Components on Your Bicycle Restoration Project
- 1.0.6 Installing the Tires and Wheels
- 1.0.7 Adjusting the Brakes and Gears
- 1.0.8 Where To Find Quality Bicycle Parts
- 1.0.9 Essential Bicycle Maintenance Tips for your New Bicycle Restoration
- 1.0.10 Conclusion
EVERYTHING YOU NEED TO KNOW ABOUT BICYCLE RESTORATION
Are you an avid cyclist who’s looking to get back on the bike and hit the open road, but your ride needs a little TLC? Or maybe you’ve just stumbled across an old vintage bicycle that you want to restore. Whatever your motivation, a step-by-step guide to bicycle restoration and getting back on the road is just what you need! With the right tools, knowledge and a bit of elbow grease, you can bring your beloved two-wheeler back to life and hit the road again in no time. From understanding the basics of bicycle mechanics to cleaning, polishing and replacing components, this guide will cover all the steps required to restore your ride and get you back on the saddle. So, let’s get started!
Understanding the Basics of Bicycle Mechanics
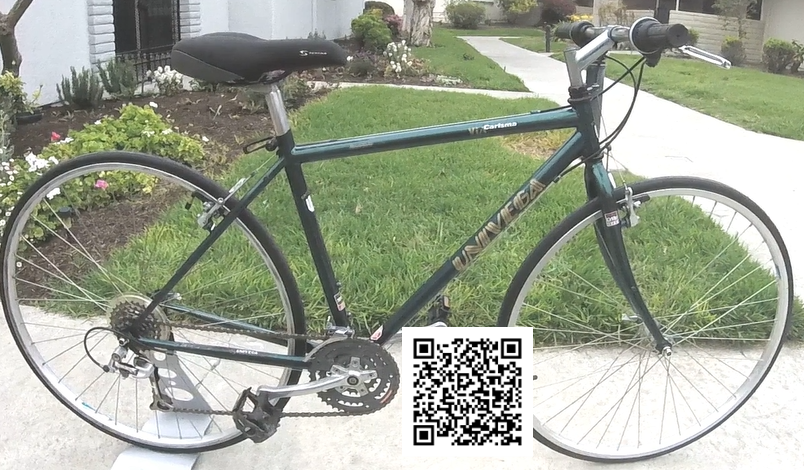
Before you dive into the world of bicycle restoration, it’s important to understand the basics of bicycle mechanics. This will help you identify any potential problems and address them accordingly. The most basic components of a bicycle include the frame, wheels, handlebars, pedals, gears, brakes, and chain. All of these components work together to form the basic functioning of your bike. Knowing the basics of how each component works will help you identify any weak points and address them as needed.
For example, if you notice that your brakes aren’t working properly, you’ll be able to identify the problem and adjust them accordingly. Look for the following issues. Do you have to squeeze the brake lever all the way to the handlebars before stopping. Are the cables frayed or is the cable housing cracked or inner lining showing. Similarly, if you notice that your gears are slipping, you’ll be able to identify the problem and adjust them accordingly. Is the shifter lever is hard to move? Does the bike jump gears on it’s own? Can you shift in the smallest and largest cogs? This knowledge will be invaluable when it comes to restoring your bike and getting back on the road.
In addition to the basic components, there are several other components that play a role in bicycle mechanics. These include the headset, crankset, bottom bracket, and derailleurs. These components all work together to create a smoother ride and ensure that your bike is functioning properly. Riding with a loose headset is very dangerous.
Go to the front of the bike. Grab the fork with both hands. Pull and push the fork back and forth and feel for any movement in the headset area. Ideally, there should be no movement at all and the fork should still turn left and right with no restrictions. To check the crankset, turn the crank arms so that one is at the 6 0’clock position and the other is at the 12 o’clock position. Grab one in each hand and try to move the crankarms inward and outward. There should be no movement and the crank should still turn freely. Understanding the basics of these components will help you identify any potential problems and address them accordingly.
Essential Tools and Supplies for Bicycle Restoration
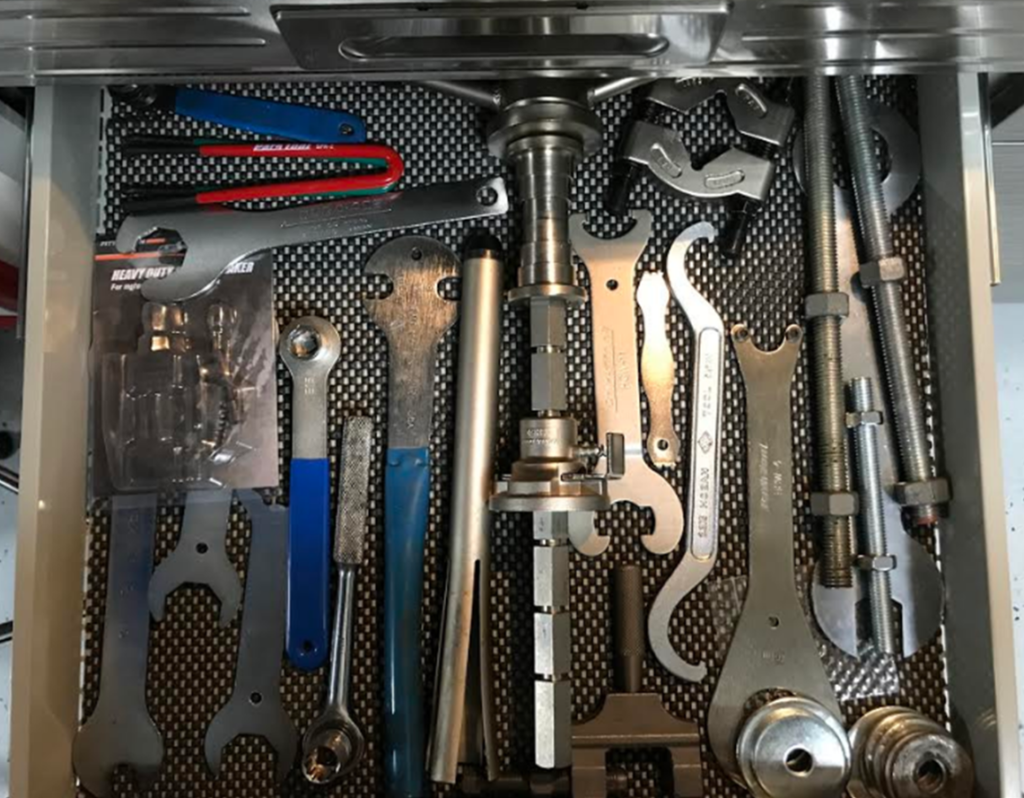
Now that you understand the basics of bicycle mechanics, it’s time to gather the essential tools and supplies for the restoration process. The most important tool for any bicycle restoration project is a good set of bike repair tools. This includes everything from hex keys and allen wrenches to screwdrivers and pliers. These tools will help you remove and replace any components that need to be fixed or replaced. You will probably need some specialty tools as well. These will be needed to properly remove and re-install the bottom bracket and headset.
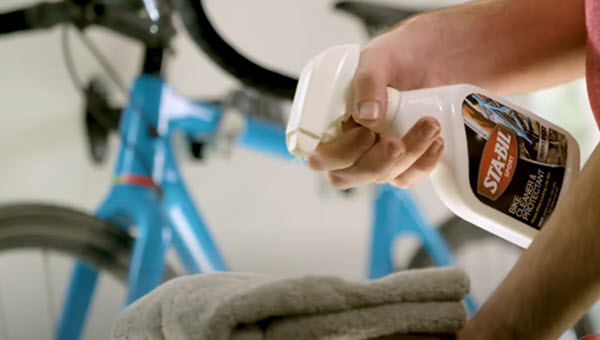
In addition to the repair tools, you’ll also need a few other supplies for the job. This includes lubricants, degreasers, and polishes. These will help keep your bike running smoothly and looking great. You’ll also need a good set of cleaning supplies such as a brush, cloth, and cleaning products. Soft brushes and old tooth brushes work well for getting the bicycle clean. If you need some brushes and want some specifically for bicycles, check the link here: CLICK HERE
Cleaning and Polishing the Bike
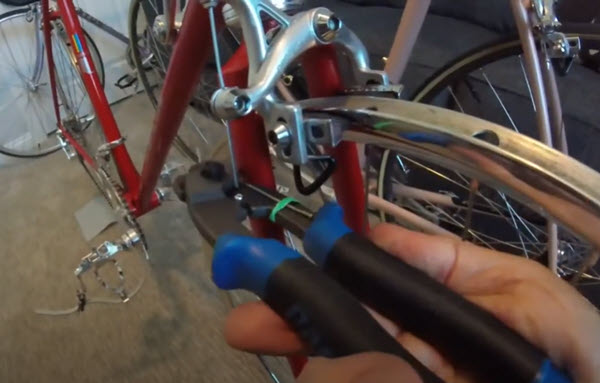
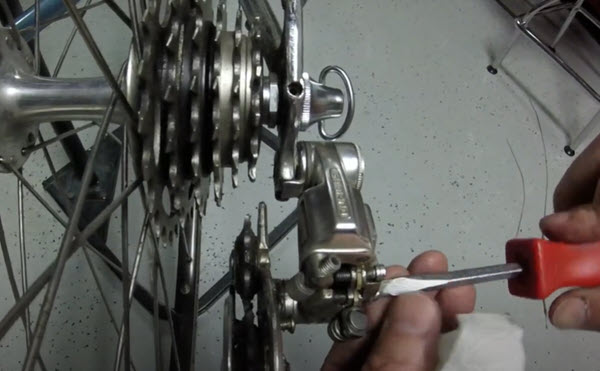
Now that you have all the necessary tools and supplies, it’s time to start the cleaning and polishing process. The first step is to remove as many components as you feel comfortable removing. Remove the wheels. Then remove all the cables and housing. Next, remove the chain. Inspect for rust and wear. It is probably a good idea just to replace the chain since they are not that expensive and most likely needs to be replaced. Next, remove the brake calipers and derailleurs. Now remove the handlebars and stem. Next, remove the crankset. This may take some special tools. Check out this video. CLICK HERE. If this one does not work for your particular bicycle check out some others on YouTube to help out.
Now you can get to most areas on your bicycle to clean and polish it properly. You can do this by using a brush and some cleaning products. Once all the dirt and grime are removed, you can begin polishing the frame and components. This will help restore the bike to its original shine and make it look like new.
When polishing the bike, it’s important to use a quality product that won’t damage the finish. You should also use a soft cloth and make sure to apply the polish in small circular motions. This will help you achieve a smooth, even finish and make the bike look like it just came out of the factory. For the metal components we recommend using simichrome to obtain a high gloss finish.
Replacing the Components on Your Bicycle Restoration Project
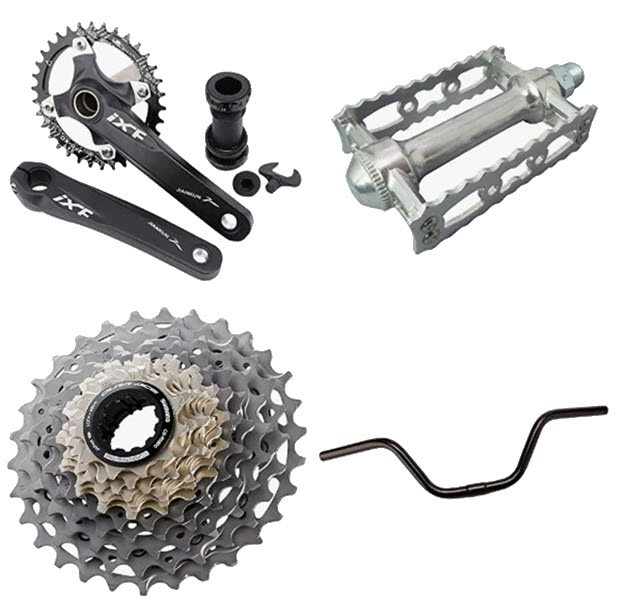
Once you’ve finished cleaning and polishing the bike, it’s time to start replacing any worn-out components. This includes things like the chain, cables, and bearings. You’ll also want to inspect the wheels and tires to make sure they are in good condition. If any of the components need to be replaced, you’ll need to purchase new ones.
When replacing components, it’s important to make sure that they are the correct size and fit for the bike. It’s also important to ensure that the components are compatible with the other components on the bike. This will ensure a smooth ride and help prevent any potential problems.
Installing the Tires and Wheels
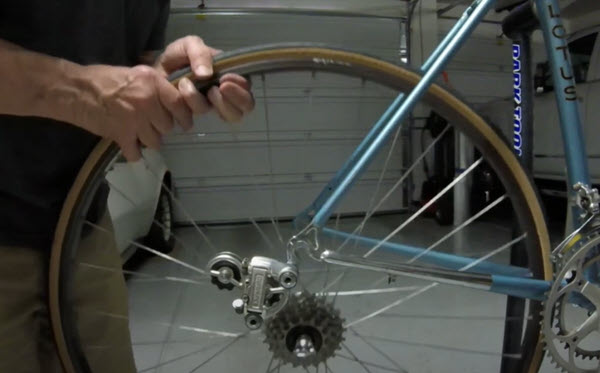
Once you’ve replaced any worn-out components, it’s time to install the tires, tubes and wheels. This is an important step in the bicycle restoration process as it will help ensure that the bike is stable and safe to ride. When installing the tires, it’s important to make sure that they are the correct size and fit for the bike. Make sure that the tire is seated properly in the rim and that there are no high or low points. When inflating the tire, stop every couple of PSI’s and look out for any high or low spots. These can cause the tube to push out from underneath the tire and blow. Inflate to your preferred pressure.
Once the tires and wheels are installed, you’ll want to make sure that the wheels spin true. Wheels that are not true can continue to get worse. This can result in the weakening of the spokes and spoke failure. This will also produce poor braking and uneven brake pad wear. Both of these issues can cause poor ride quality and safety concerns. Ask your fellow riders who they recommend for truing your wheels. This is a important job and must be done correctly.
Adjusting the Brakes and Gears
Once you’ve installed the tires and wheels, it’s time to adjust the brakes and gears. This is an important step in the bicycle restoration process as it will help ensure that the bike is functioning properly. When adjusting the brakes, it’s important to make sure that they are not too tight or too loose. This will help ensure that the bike stops when you need it to and that the brakes don’t squeak or squeal. You will probably want to replace the brake pads.
When adjusting the gears, it’s important to make sure that the cables are not too tight or too loose. This will help ensure that the bike is shifting smoothly and that the gears are not skipping. It’s also important to inspect the chain and make sure that it is properly lubricated. A well-lubricated chain will help ensure that the bike is shifting smoothly and that the gears aren’t slipping.
Where To Find Quality Bicycle Parts
Now that you’ve adjusted the brakes and gears, it’s time to start looking for quality bicycle parts. This is an important step in the bicycle restoration process as it will help ensure that the bike is functioning properly and that you are able to find the right parts for your bike. There are several different places to find quality bicycle parts.
One of the best places to find quality bicycle parts is online. Several websites specialize in selling quality bicycle parts. These websites usually have a wide selection of parts to choose from and they often offer free shipping and returns. This makes it easy to find the parts you need without having to worry about finding a local store. Go to this link to find some online stores. CLICK HERE. Also check Amazon.
Another great place to find quality bicycle parts is at a local bike shop. Most bike shops have a wide selection of parts and they often offer discounts and specials. This is a quick way to find the parts you need.
Essential Bicycle Maintenance Tips for your New Bicycle Restoration
Once you’ve found the parts you need and installed them, it’s time to start thinking about bicycle maintenance. This is an important step in the bicycle restoration process as it will help ensure that your bike is running smoothly and that it stays in good condition for years to come. Here are a few essential bicycle maintenance tips to keep in mind:
• Clean and lubricate the chain regularly. This will help keep the chain running smoothly and prevent any potential problems.
• Inspect the brakes and gears regularly. This will help ensure that they are functioning properly. Check the brake pad wear and alignment. Make sure that
the cable ends on both the brake and derailleurs are capped and not frayed.
• Inspect the wheels and tires regularly. Check for proper tire inflation and wear.
Spin the wheel and make sure that they are true. Wheels that are way out of true
can cause spoke failure, braking problems and advanced tire wear.
• Store the bike in a dry, safe place. This will help prevent any potential damage to the bike and keep it running smoothly.
Following these maintenance tips will help ensure that your bike is running smoothly and that it stays in good condition for years to come.
Conclusion
Bicycle restoration and getting back on the road can seem like a daunting task, but with the right tools, knowledge, and a bit of elbow grease, you can bring your beloved two-wheeler back to life and hit the road again in no time. From understanding the basics of bicycle mechanics to cleaning, polishing and replacing components, this guide has covered all the steps required to restore your ride and get you back on the saddle. So, what are you waiting for? Get out there and start restoring your bike!
Here are some books that may help in the restoration of your bike.
 |
 |
 |


